Fermented green chilli sauce

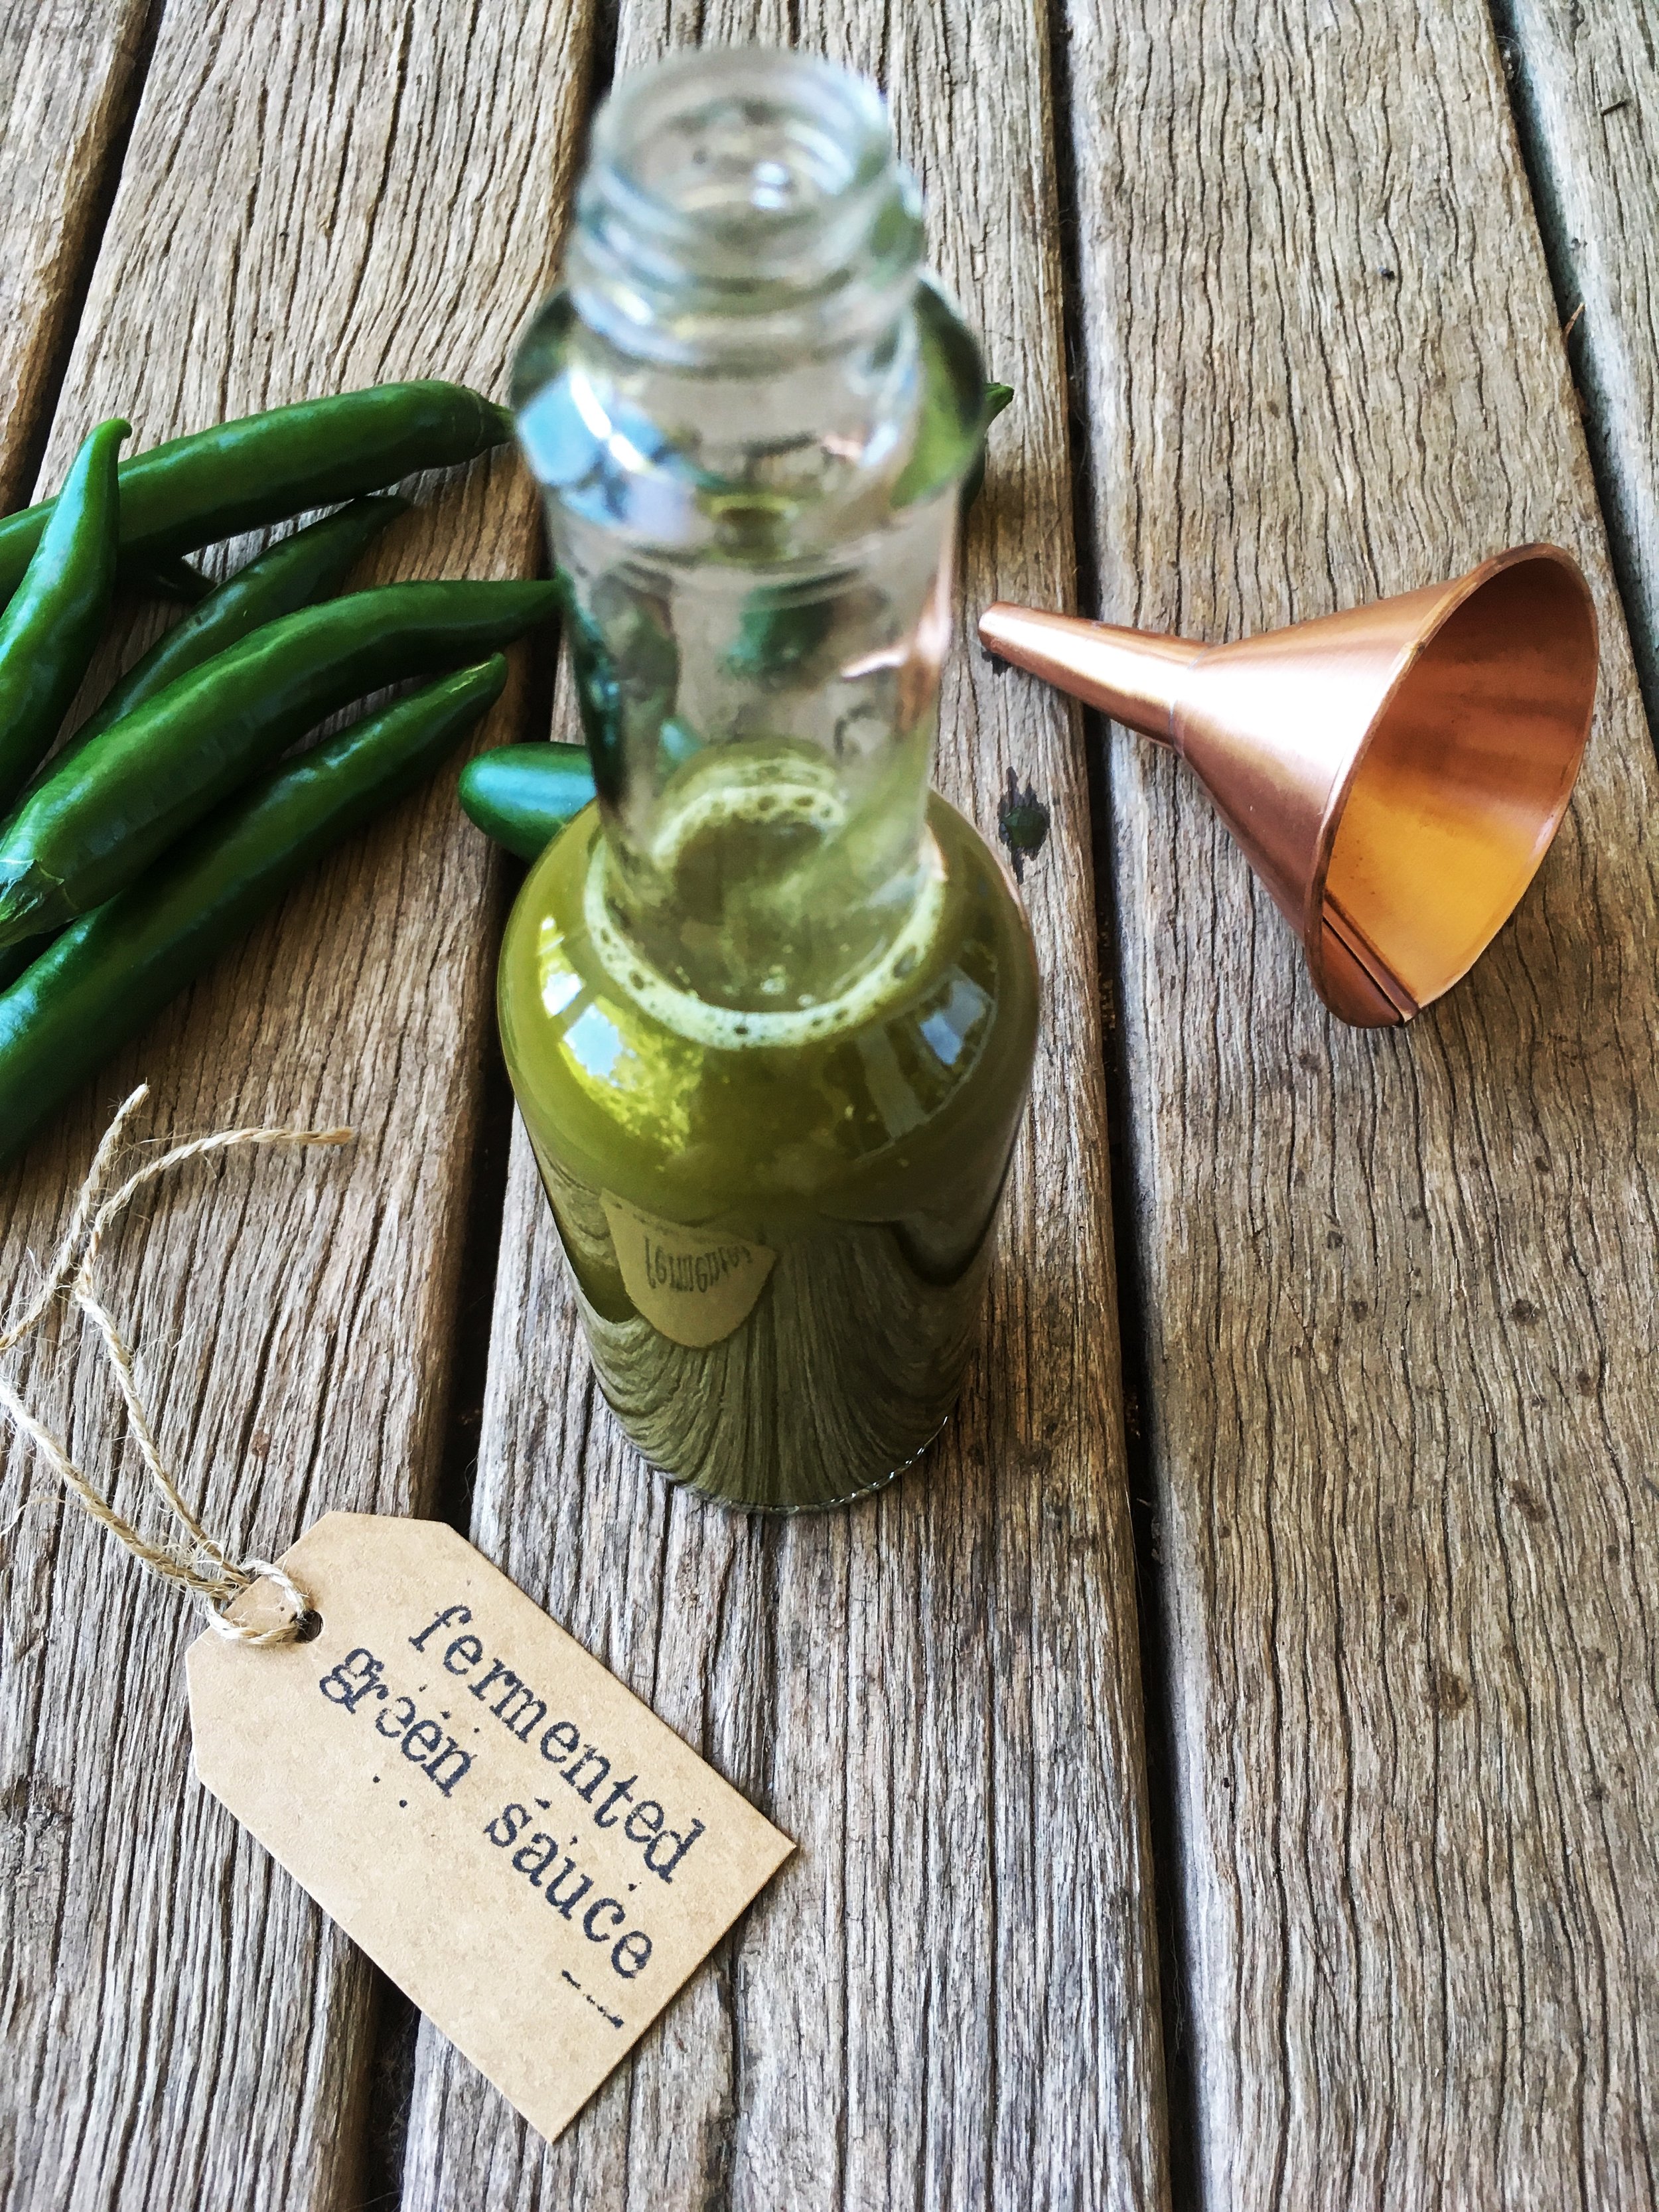
Fermenting chillies gives them a depth of flavour with a sour note. It is a very easy process, and one batch will stock your fridge with a few bottles of chilli sauce for the rest of the year. Of all my preserves, I think my chilli sauces have been my most well received gifts (to chilli lovers of course), so better to make more than less!
Fermented green chilli sauce
1 fermenting jar with valve or fermenting crock.
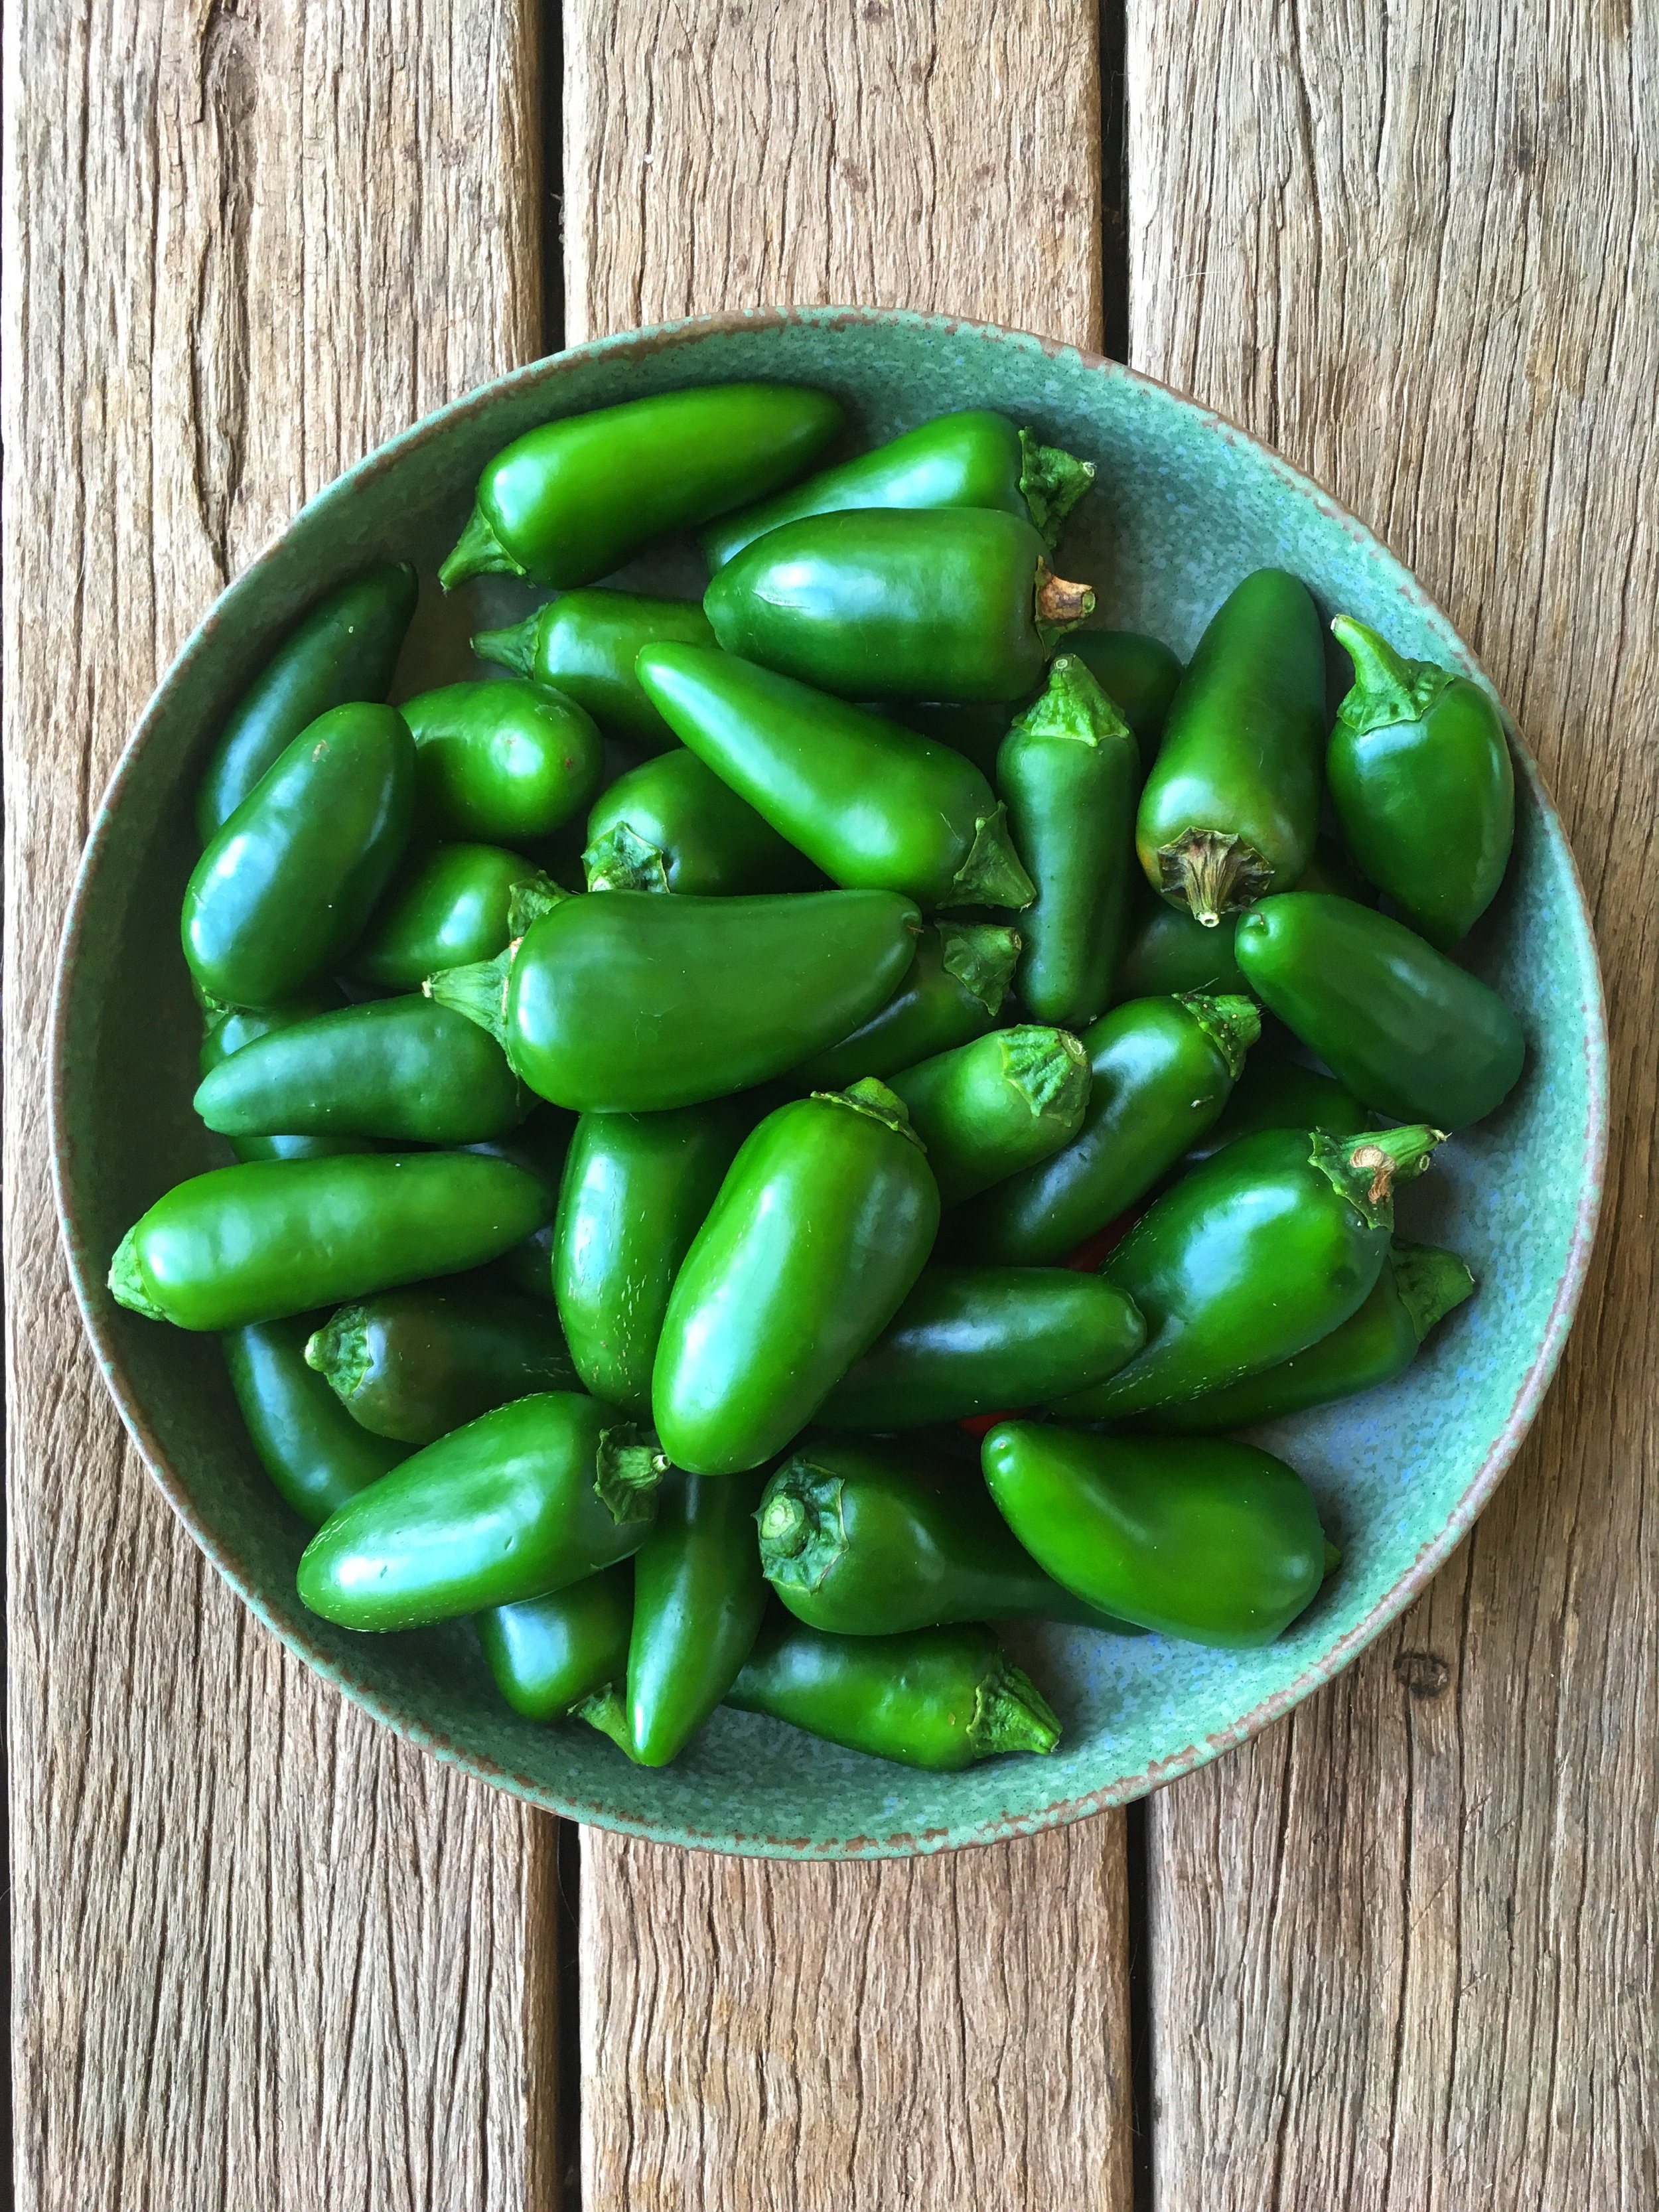
green chillies - the mix will determine the overall flavour balance and heat. I use mainly jalapenos with some long Thai chillies but feel free to use whatever you have on hand as long as you like their flavour.
salt
white wine vinegar (optional)
Sterilise your fermenting vessel. I use jars with one way valves as I find them super easy, they don’t need ‘burping’, and they don’t let oxygen back in so if I get delayed the ferment doesn’t spoil.
Place your chillies, stalks and all, in a food processor. Ideally use home grown or organic chillies and don’t clean them too well, only a rinse to remove any dirt. Blitz until they are all uniform in size - about the size of a big chilli seed. Don’t worry - you will strain your sauce later.
Place your jar on kitchen scales and tare (resets the number to zero so you can weigh the ingredients in the jar without the weight of the jar being included). Fill your jar with your chillies. Calculate 2% of the total weight of the chillies and add this weight of salt. (eg: For 1kg of chillies you would add 20g of salt). Stir well and close the jar or place your fermenting weights on top if using a crock.
Ferment. The time required to ferment chillies is dependent on a few different factors - including temperature. Watch for small bubbles - this is a clear sign that your chillies are fermenting. I suggest that after about day 4-5, start tasting the mix every other day until you are happy with the sourness and flavour. I bottled mine on day 12.
When ready to bottle, place your ferment through a sieve, mouli, or a juicer if you have a good one that will extract the fibre and seeds for you. I was gifted an Omega juicer last year and it is uber efficient for these types of jobs.
Taste. It is important to balance your flavours here - look for salt balance and whether any vinegar is needed for sharpness (and to improve the life of your ferment). Add a little at a time, stirring well, until you are satisfied. Following this approach, I did not need to add either to this batch.
Bottle into sterilised containers and store in the fridge.


